Showing posts with label A Piece of Lisa. Show all posts

Monday, March 14, 2016

1031 Witch Way Part 1: Building a Haunted House

Hello fans and followers!  Remember me??

I know it's been a really long time since I posted anything, and I'm sorry for that.  Sometimes life happens!  I've had a lot on my plate for the last few months, and work just got pushed to the back burner for a while.  Now I'm back....hopefully here more regularly! 

I'm so excited to share what I've been working on in the studio for the past few weeks.  It is my most ambitious project ever, and I'm thrilled with how it turned out!  I hope you like it too! 

Last year, while sitting at a particularly slow show, my brain started spinning about new pieces to do for this year.  The brain never stops, I tell ya!  I came up with the idea of having a few trick or treater kids, with a wicked witch passing out candy.  Well, that turned to wanting a haunted house backdrop of some sort.  You know, just a flat something or other giving the illusion of a house.  Well, then I decided it might be fun to add a spooky character peeking out an upstairs window, so the two dimensional idea was tossed to the curb in favor of something that would hold a doll.  Well, one thing led to another and suddenly I was wanting to build a full blown haunted house! 

Sometimes it is both a blessing and a curse to have a creative mind!  HAHA!  But honestly, I didn't know how much work I was really setting myself up for.  In the end, of course, it was worth every second, and I had a load of fun in the process of creating this house and its accompanying characters.

So, here it is......1031 Witch Way.  (Be prepared for a long post and photo overload!)

This is the finished piece.  Pretty awesome, huh? 
 
Well, here is how it started:
 
I started by building the structure with cardboard and foam core board.  I actually had a salvaged box that had that lower arched 'window' already cut out, and it was my jumping off point to building the house.  I wanted to make this easy to construct and, more importantly, since I was planning to ship it, light weight.  So wood was out of the question.  Armed with lots of heavy duty shipping tape, a very sharp cutting tool, and a straightedge I spent pretty much a whole day getting this assembled.  

Next I wallpapered the interior with scrapbooking paper.  I wanted something fairly dark, because the dolls I planned to put inside were going to be pale.  I also wanted a pattern, but nothing so busy it would detract from the dolls.  The paper in the upper room I used as is.  The lower paper was originally black and white, but once I got it glued in, I realized it was too bold of a contrast for my vision.  Seriously....AFTER it was glued in, I got out a plum colored marker and colored over the white!  Sometimes I have to go the hard route to get where I'm going!  

I wanted 'hardwood' floors, but not natural wood tones.  I wanted to keep with my spooky grey, black, purple color scheme.  So I made these faux wood floors from foam core.  I 'drew' in a wood grain pattern with a stylus tool, sort of embossing the foam, and then I dry brushed over them with a pale grey paint to give them an aged look.  I think they turned out perfectly!  YAY!
 

Another view of the finished interior space.

I didn't need the door to really function, because my plan was to just have a witch standing on the porch, but I did want a door of course!  I just cut this opening on three sides, and left the fourth for the 'hinge'.  I added a piece of the cutout to the bottom to give the illusion of a paneled door, painted it purple, dry brushed on some black to age it, and added a cool big brad for a doorknob.  I also added plexi-glass in the window.  (You will also notice that the cardboard structure got painted black at some point.  No photo of that.  I base coated it so if there were gaps in my siding, they would show black and not brown.  Thinking ahead!)  

Peeking inside the front door you will see I wallpapered with a text patterned paper, and I found a cool diamond checkerboard for the flooring!  LOVE this little detail, even though in the end product it doesn't show that much. 
 
Then it was time for siding.  I bought the biggest craft sticks available.  They are about an inch wide and about eight inches long, give or take a bit.  I lapped them, just like you would a real house.  Lots of hot glue sticks for this!  The porch floor boards and your average sized craft sticks.  I found some very flat 1/2" wide basswood to do all the window and door casings.  (I didn't mention that the upper roof is removeable.  Two reasons behind that....1) it makes the house a bit shorter, therefore possibly a smaller shipping box, and 2) the back of the tower side retains that hinged opening you see in the above pictures, so you can put the dolls in.  The overlap on the roof wouldn't allow that to happen.)

Then, of course, there was shingling to do.  I used somewhere close to a million doll house shingles to cover this.  Ok, slight exaggeration, but there are a LOT of shingles there!  This photo also shows the addition of the porch columns.  These are thick dowels set into bases that are meant for clothespin dolls.  (That idea popped into my head one sleepless night at about 3:00am when I was trying to figure out how I was going to attach my columns!  I just so happened to have those peg bases in my stash!  You see, you never know what you are going to need, so hoarding craft supplies is sometimes a really good thing!)

All ready for paint.  You will notice here that the arched windows are gone.  Well, as much as I loved the idea, in the end I scrapped it because they were going to be far too tricky to trim.  I also had planned to put 'glass' in the windows too.  David pointed out that it would produce glare in the photos.  Not only that, when I tried it anyway, they wouldn't stay in, AND when I tested a doll inside, the glass took away from the view of the doll.  So, he was right about that for sure.  No glass.
 
A basecoat of black paint, except on the porch a light grey.  You can also see in this picture the chimney is poking up, covered in white stones.  I made those from Creative Paperclay.  I know some artists love this material (LeeAnn, I love you girl).  I DO NOT!  I think it's messy, it shrinks when it dries, and for whatever reason, these little 1/4" thick pieces took forever (it seemed) to dry!  But I wanted a lightweight material, and thought it might be better than polymer.  Turns out, they are not really that much lighter, so next time, I will stick to my beloved polymer clay!  The chimney, by the way, goes all the way to the bottom, so it is covered on the two skinny sides and the front with the stones.  The entire back of the house is 'unfinished'--just covered in black paper.
 
So here the house is, finished to this stage.  

A close-up view of the crackle finish paint job.  I wanted the look of old, peeling paint.  I used a medium grey over the black base coat.
 

Darker grey for the trim.
 

A view of the finished porch.  

Bats fly from the chimney.  I painted the stones to look like, well, stones!

I gave the black roof a dry-brushed wash of light grey paint to give it a weathered look.  I stepped back and looked at it, and felt it was missing something.  So I dug around my stash and found a metal bat on a stick (I had to cut it lots shorter), a metal 'watch hand', and a jack o'lantern jingle bell.  (Which I had to drill a hole in....tricky business there!).  I used a wooden bead, some wire and another one of those peg doll bases, and there you have it....a spooky weathervane!
 
Now, one would think I would stop there, right.....well, no!  Because I still had a wee bit of time before my deadline (Oh, I didn't mention I was working on a deadline, did I?), I thought I would add on a yard.  Ok....truth be told, I finished all the dolls first, and came back to the yard, time permitting.
 
The overall finished house, yard and all.  I used a 1/2" thick piece of foam core board for the base.  I covered it with wood excelsior, which is a nice dead-grass color.  I made tiles for the sidewalk---using POLYMER clay this time---and painted them to look like stones.  Oh, and an address plate was added to the house.

Here is a detail of the porch, the witch, and the graveyard.  All the pumpkins, cats, skulls and tombstones are made from polymer clay.  The full skeleton is a plastic party favor I distressed with black paint.  A raven on a tombstone and an iron fence in the back finish it all off nicely.  

Another detail shot.  This shows the sidewalk nicely and the pet cemetery under the window. 
 
OK...if you made it here to the end of this massive post, well done you!  Thanks for sticking with me!  I hope you enjoyed the journey through the construction of the house.  Next time, the dolls. 
 
This project is now on its way to California.  I have submitted it to Art Doll Quarterly magazine in hopes of having it published in their upcoming fall issue.  I sure hope they choose it!  Wish me luck!
 
One last look at the whole project before you go:
 
I'd really, really love to hear your thoughts. 
 
Hope you are enjoying a lovely spring day!
Lisa


Wednesday, July 29, 2015

The Three Little Pigs....and One Big Bad Wolf

If you have followed my blog for any amount of time, you know that Halloween and Christmas are my favorite characters to create.  Soon I will be filling this space with posts about ghosts and ghouls, Santa and Snowmen, and lots of other holiday characters.  I thought I would take some time today to show you a few 'non-holiday' characters, just for fun.

I've always loved the story of the Three Little Pigs.  I have two very specific memories of that beloved classic.  You might think these are stories from when I was a very small child, but in fact, I was 'older' in both of them. 

In the first one, I am 12 years old, a 6th grader, and it's Thanksgiving in Nebraska.  My aunt and uncle have come from Texas to spend the holiday with us. It's my 'duty' to entertain Brent, their three year old son.  He's a good little boy, and he loves to be read to.  Quickly he latches on to The Three Little Pigs.  I would not be exaggerating when I say I must have read that book at LEAST 50 times in three days.  We even had two versions of it....one where the pigs get eaten, and one where they run away.  He liked the one where they got eaten the best, and I couldn't fool him into reading the other one---just for variety. 

Fast forward to my 15th birthday party.  One of my good friends celebrates her birthday just 4 days after mine, so we throw a joint slumber party at my house.  (What were my parents thinking?)  Sixteen teenaged girls, up all night, giggling!  My sister is visiting with her 3 year old son, Jeremy, an adorable little boy who loves to entertain.  At three, he could recite the story by heart, his favorite part being the 'I'll huff and I'll puff, and I'll blow your house down."  At which point he would blow the house down, and my friends would squeal with laughter! 

So, when I set out to create this set of pigs and the accompanying Big Bad Wolf, it is with some fond memories in my heart. 

 
These pigs have been running around, squealing, in my head for a very long time.  I finally took some time this spring to let them out! 

 
The First Little Pig, as we all know, was not willing to work very hard.  He just wanted to dance and play.  He made his house of straw, because it was the easiest way to do it.  Since this pig was all about frivolity, I decided to dress him in white shorts and an orange shirt with a frilly collar.  These are NOT work clothes!  

 
The Second Little Pig was willing to work only slightly harder, to build his house from twigs.  So his clothes are a little big more rugged....cargo shorts and a striped t-shirt. 
 
 
We all know, The Third Little Pig was smart and a hard worker, willing to spend lots of extra time building a house the Big Bad Wolf could not blow down.  Laying brick is very hard work, and you need to be dressed accordingly.  He wears overalls, work boots, and has a bandana tied around his neck to wipe away the sweat. 
 
 
Of course the collection would not be complete without the Big Bad Wolf.  I love the way this guy turned out!  He has lots of sharp teeth and long claws.  He needed a 'prop', and I consulted my friend Marian, to see if it seemed tacky to add a jar of BBQ sauce.  She has the same quirky sense of humor I have, so she thought it was a great idea.  Turns out, everyone I've shown this to agrees!  YAY!!  What's pork without BBQ sauce, right?  (Does this put you in the mood for barbequed ribs??)
 
I'm really happy with this collection of beloved story book characters.  I'm glad I took the time to make these.  If nothing else, they will be a good conversation starter at my upcoming shows! 
 
Speaking of which, fall shows begin in less than two months!!  I'm beginning to feel the panic, and it's seriously "crunch time" in the studio.  I have lots of wonderful new characters to show you!  Right now, I'm working on Christmas ornaments!
 
I hope you have a great day! 
Lisa


Tuesday, July 21, 2015

Published!

Summer is already half over!  The seasons always dash by so quickly, but especially so when I'm working on fall/Halloween/Christmas art in the summer! 

The coming of fall also means the much anticipated autumn issue of Art Doll Quarterly is on its way.  This is always my favorite issue of the magazine.  This year is no exception, and I'm especially pleased because FOUR of my Halloween art dolls made it into this issue!  I'm so thrilled!! 

Here is the cover, with a wonderful Day of the Dead Bride doll by Sylvia Smiser:


And here are the TWO PAGES that feature my dolls in the Show and Tell Gallery:


So perhaps I spoiled the surprise of seeing my work first-hand in the magazine, but you should still go pick up a copy for yourself.  There are so many wonderful artists represented, including some of my favorites:
 
LeeAnn Kress of Charmed Confections
Marguerite Noschese of My Witchy Women
Carly Smith of Boggy Bottom Bayou
Amy Beeler of The Enchanted Doodler
Robert Eberz of Grimm Grinz Studio
Scott Smith of Rucus Studio
 
Art Doll Quarterly will be available on newsstands August 1st.  You can find it at Barnes and Noble and Joanns Fabric and Crafts.  I think Michaels carries it, too.  Or you can order a copy online at https://stampington.com/art-doll-quarterly/Art-Doll-Quarterly-Autumn-2015
 
I hope you are all enjoying your summer!
Lisa


Wednesday, June 10, 2015

A New Beginning

There are few things I love more than a brand new sketch book!  It sort of reminds me of back-to-school days, when you got new spiral notebooks and number 2 pencils and a fresh box of crayons!  Nothing sweeter in my mind!  All things full of possibilities! 

This morning I pulled a fresh sketchbook from the drawer so I could begin sketching the 2015 Christmas ornament collection.  (I am well aware that it is June 10th.  I am well aware that most of you are thinking about swimming pools and baseball games and flip flops and all things summer.  Being an artist that sells HANDMADE holiday decorations, I have to be in a different mindset this time of year.)

 
I prefer small, spiral bound sketchbooks.  They are easily portable, and you can fold the book back on itself.  This one is 5.5" x 8.5", a perfect size for me.  I try to catch them on sale so I can have a back-up on hand.  And while a simple number 2 pencil is great, these days I like to use mechanical pencils.  This Pentel .7mm is my favorite. 

 
The first blank page.  Oh, the possibilities this holds! 

 
And here you have it!  The first sketch of 2015!  A sneak peak, if you will, of my ornament collection.  I've never done any ornaments with owls, and they are so popular right now, I thought it was time to try them out.  I have high hopes for this sketch.  I think it will make a really cute one!
 
 
As I've been sketching, I've had yesterday's production in the oven.  Snowmen.  I do KNOW it's summer!  (In fact, in Omaha yesterday we were flirting with 100 degrees!  The thermometer on my card read 100 for a split second!  UGH!!  Last week at the same time we were 64 and raining!  Talk about being all over the place, weather wise!)
 
It's time to get back to the studio.  More snowmen are calling my name!  Have a wonderful SUMMER DAY! 
 
Lisa


Thursday, April 2, 2015

It's SPRING!

It's amazing to me that the last time I was here I was posting about Christmas, and now Easter is just days away!  Where does the time go? 

Mostly, I take the month of January off from working, since I usually am so crazy busy making custom orders right up until Christmas.  Last year was no exception, and I finished my last order at about 3:30pm on December 23rd!  Cutting it a little too close, I know!  So, January was a deserved month of rest from the studio!

I have been making my way back to work, and itching to get busy with all the new ideas I have banging around in my head.  But this week I had another custom order to work on, and I'm going to show it to you today.

A customer who purchased several snowmen from me at one of my fall art fairs contacted me about making a group of Easter bunnies for her.  Since I didn't do any spring shows this year, and I've been slow to get back to work and get things listed in my etsy shop, I wasn't sure I would be making any spring pieces.  It was nice to have to do these.....they were so much fun!

This is Ellie.  She is a small girl, about 6-1/4".  A pink or purple dress was requested, so I did a bit of both.  The polka dot fabric reminds me of Easter eggs, so I pulled the pink out to make her clay bodice, and then trimmed it with purple ribbon, crepe paper and Swarovski crystals.  She carries a basket with little eggs.

Tessa is wearing a teal dress, with a floral patterned skirt and clay bodice.  I didn't have crepe paper to match this color, so chose to use white.  I added the white lacy ribbon to balance the collar.  She has eggs and little yellow ribbon roses in her basket.  She is much taller than Ellie.

Vivian is much like Tessa in both size and the way she is dressed.  I love this vibrant violet color.  The little purple flowers in her basket are a nice match.

I was asked to create one little boy, wearing a short blue suit, and here he is.  I named him Will.  After taking this picture, I decided he needed a little 'something', so I added a lavender felt flower with a yellow Swarovski crystal center to the lapel of his suit.  It is s subtle but nice finishing touch. 
 

These two pictures show the difference in the sizes of the bunnies.  The client asked for two small ones and two larger ones.  The small girl and the boy are for her grandkids.  The bigger girls are for her daughters.  I will be delivering these tomorrow.  I hope she loves them as much as I do! 
 
 
I don't know about the rest of you, but I sure am ready for spring!  We didn't have that much snow in my neck of the woods, so we were lucky in that regard.  But we had some very bitterly cold weather.  Personally, I would rather have the snow!  Of course, someone from Boston or one of the other cities that got nailed really hard would probably disagree!  But now it's over, the trees are budding, tulips are blooming, and my lilac bush is about ready to pop out full of wonderfully fragrant blooms!  We had a nice rain storm last night, and the grass is even greener this morning!  It's a wonderful rebirth!
 
I hope you all have a joyous Easter!  I promise to be back soon!
Lisa
 
 
*******************************************************
 
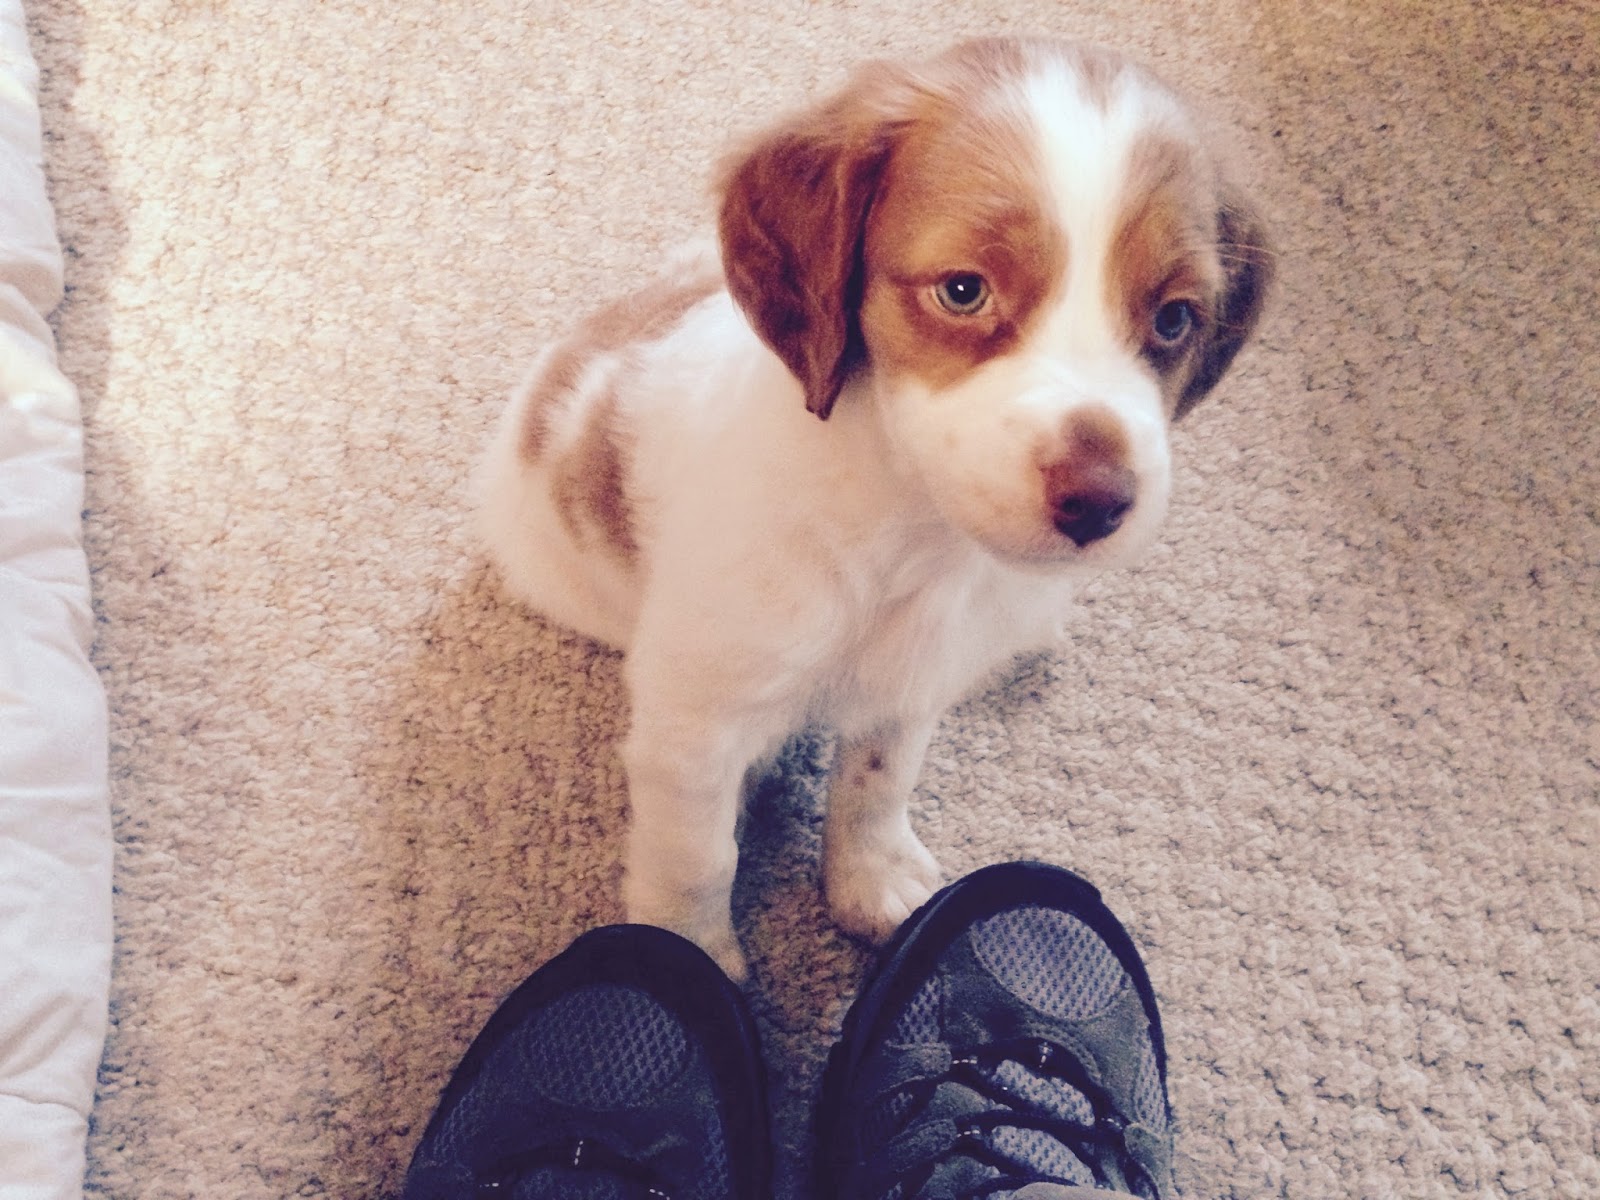
Oh, one other thing to share with you.  This is one reason why my studio time has been compromised in recent weeks.  On December 6th I got the best Christmas present ever!  An adorable Brittany spaniel.  I named him Rudy. 
 

This is what he looked like a couple days after I got him.
 
This is what he looks like now!  It's amazing how fast they go from roly-poly puppy to looking like a real dog!  He's a handful, but a ADORE him! 


Wednesday, July 16, 2014

Skellies

As you know, I have been working super hard to ready myself for my big show season.  I have about EIGHT WEEKS left.  I know to some of you that seems like a nice stretch of time.  Trust me, it's NOT!  I have so many hats to wear as a one woman show that sometimes I don't get them all put on in a timely manner!  But, I'm here for a minute, so let me show you a few of the new things I have been working on.

SKELETONS!!  I made a few last year and they seemed to be well loved.  I thought I would sort of pair them off this year. 

Bonita Bones and Night Watchman
 
As you know, I'm a sucker for these fun tutu dresses on my dolls.  I love this glitter-dot tulle.  Her fella is dressed up in a fine suit.  He's been keeping an eye on his watch, because as we all know, girls tend to take so much extra time when getting ready for a fancy party.  He's afraid they might be late.

Charming Skelly and Belladonna Bones
 
I enjoy a play on words and try to always come up with something clever for my characters.  I had these cool skull embellishments and decided to make charms from them for this unique skeleton.  I wanted to do something in only black and white.  His shirt is made from silk, no sewing, just tucking, folding and gluing.  I was pleased with the result. 
 
Belladonna gets her name because she is carrying a vial of poison.  There is a tiny hand-drawn skull and crossbones on the label of the bottle.  More of the fun dotted tulle on her dress, and I decided this time to polka dot the top.  It matches Charming Skelly's hat. 

Skelly Bat Jack and Skelly Sparkle
 
OK, maybe not my most imaginative names, but I do like this pair, in traditional orange and black.  His suit is trimmed with glitter to coordinate with her glittered tulle skirt.  The jack o'lantern, bats and the black cat head are all nods to traditional Halloween things.

Skelly Boo and Skelly Cat
 
I made Skelly Boo last year, and thought he needed a companion.  These are sort of the 'younger' skellies, on a more casual day.  I like the pairing of the stripes of his shirt with the dots of hers.  Her skirt is made from chenille fringe. 
 
(Whenever I see Skelly Cat, I think of "Smelly Cat"---remember Phoebe from Friends, and her quirky song "Smelly Cat"?  It plays it my head now..."Smelly cat, smeeellly cat, what are they feeding you?  Smelly cat, smeeellly cat....it's not your fault!"  Now you can have that odd tune running in your head all day! LOL!)

Skelly Goes Haunting and Shelly Skelly
 
These are a bit of a departure from the usual color schemes of Halloween, but that's why I like them so much!  Purple is my favorite color after all!  I was able to mix the clay color to match the tulle and crepe paper really well.  The Happy Haunting sign is textured to look like old wood, stamped with an acrylic stamp, and then 'antiqued' with black paint.  More of those great glittered bats.  They always add a nice little touch, I think.
 
 
While I have these skeletons paired off, they are all available separately.  I have a few of them listed in my etsy shop. I've slowly been getting new Halloween things listed.  I hope you will go have a look around. 
 
I've managed to put together a nice collection of Halloween characters to start off my show season, so now I'm moving on to working on Christmas folks.  Christmas in July.....that sounds about right!
 
Off to work!
Thanks for stopping and have a great day!
Lisa


Monday, May 12, 2014

Ezmerelda, A Wicked Witch

The thing I love about creating Halloween characters is that anything goes!  Sometimes, the uglier, the better.  As is the case with Ezmerelda.....

 
Now, that is one ugly witch!  Green face, great big nose, wonky eyes, dark shadows, and even a few warts!  She is quite wicked, so you better watch out.  She's keeping an eye on you!
 
 
I spent a lot of time on her, getting the details just right.  First she was sculpted from polymer clay...purple and orange striped stockings, black boots and the top of her dress (saggy boobs and all), and of course her wicked green face and hands. 
 
I added a skirt, cloak and hat made from black micro-suede fabric.  The skirt is trimmed with black velvet ribbon and a ribbon flower.  The cloak is lined with deep purple satin.  Two silver brads, orange Swarovski crystals and a bit of chain attach the cloak.  The hat was made from paper and covered with the fabric, then trimmed with flowing purple silk ribbons and a Swarovski crystal.  She has a crepe paper collar, and chenille trim and crystals on her boots.  I used grey wool roving to create her long wild hair.

 
Ezmerelda is ready to fly off at any moment on her broom.  A glittered foam bat soars from her wrist with wire.  She stands on a golden clay base that is covered with glass glitter.
 
I just listed this wicked old girl in my etsy shop.  You can find the listing here.  Lots of new spooks will be trickling into the shop in the coming days and weeks, so keep checking back! 
 
*****************************************************
 
We survived a very ugly storm last evening.  Tornadoes were nearby but thankfully they didn't hit our area.  But there is storm damage from wind and lightening and rain all through the city, and many people are without power.  We were blessed.  Others were not quite so lucky.  It was a doozy!  It's just the beginning of severe storm season here in Eastern Nebraska.  While I love a good thunderstorm, I could do without heading to the basement for tornadoes! 
 
I hope you all have a safe and happy day! 
Lisa


Monday, April 28, 2014

Good Fortune

Hi, I'm back!  I've been working like crazy, creating lots of fabulous new characters.  I finally got a big group of seventeen together on Saturday for a photo shoot, so now I can share them with you!  YAY!! 

You might remember a couple of my favorite pieces from last fall were gypsies....or fortune tellers.  There was Clara, the old woman with the wonky eyes, and Clarice, the younger version with the lively make-up.  I loved both of these dolls so much, and they inspired me to make more fortune tellers.  Tarot cards kept coming to mind, and I was wracking my brain on how to execute them. 

At first I thought I would just do some little drawings on card stock, but I don't really know much of anything about tarot cards...what pictures do they have on them?  So, of course, I googled them. (How did the world ever function before google?) I thought I would buy a pack of cards and then either make some little sketches based on the artwork, or I would try to reduce/photocopy some down to the proper size.  Never in a million years would I have thought I would find these:

 
YAY!  Amazon, you did it again!  I was searching through their listings and first I found one for mini tarot cards, and I thought "Cool!" and clicked it.  Then on that listing, it suggested I also have a look at TINY tarot cards, and I thought "OOH!  Even better!"  Still, I never thought they would be the right scale for my art dolls.  But it was worth a shot.  I read the listing and the reviews and they were described as being the size of a postage stamp and I thought, "Those just might work!"  So I put two sets in my cart and waited excitedly until they arrived two days later.

 
Aren't these the cutest thing ever?  I could not be more pleased.  They are the perfect size, the colors and graphics are wonderful.  SCORE!!  And since tarot cards come in a pack of 78, I have plenty of cards to last for several dolls.  I couldn't wait to get started sculpting a gypsy to use these amazing little works of art.
 
And here she is.....
 
 
I wanted her to be very colorful, and not typical Halloween colors.  I sculpted the bodice of her dress from a teal blue pearled clay.  I found this paisley fabric in my stash of things Marian gave me.  The colors are not an exact match (although this photo does make her top seem bluer than it really is).  I thought it was OK not to be too matchy-matchy with her.  I trimmed the skirt with lace and satin ribbon, and used a black velvet and organza gathered ribbon around her waist.  It helped to distract from the blues not matching quite right.  Red crepe paper for her collar, and red satin for her head scarf.  I used several Swarovski crystals to bring a little bling to her look---on her shoes, her shawl, her head scarf and even her ears. 
 
 
It was a real trick getting the slick cards to stick, but I managed to get there with a lot of patience and a few applications of glue.  I used ten of the cards, since a typical card reading is called a 'ten card spread'. 
 
 
I like the way the colors of the art play with the colors in the skirt.  Oh, I also gave her a crystal ball necklace.
 
 
A view from behind so you can see her long black fringe shawl.


No self-respecting gypsy would be seen without being in full make-up.  Rosy cheeks, ruby red lips, black eye liner and teal mica powder eye shadow.  I used curly wool roving for her jet-black hair. 
 
I struggled with naming her.  I just couldn't come up with something that seemed to suit her.  Sometimes I have a doll named before I even start, but not this time.  Finally, yesterday, I heard her say, "Hell-ooooo!  My name is Zelda!!"  So, there you have it....Zelda!  So lovely to meet you! 
 
I have a few other gypsy dolls running around in my head, and I can't wait to make them come to life.  I like the gypsy girls.  They aren't necessarily a Halloween doll, but they fit in with Halloween just the same.  Isn't fortune telling a type of witchcraft?
 
Well, this post got a little long-winded.  That happens when I am really crazy about a piece (and I also have more than a few minutes to put together a post!).  I am crazy about Zelda.  I hope you are, too!  I would love to hear from you!
 
Have a great day!  I'm off to the studio (which I am also crazy about!)
Lisa